
ever since we moved into our house i have been wanting to put some wainscot in one of our rooms, but had no idea where to start or how to do it. the second we moved in i bought this amazing wallpaper because i thought it would be just perfect in our dining room area...well little did i know that one roll was just not enough to cover the walls i wanted to cover. & for the price i paid for one roll i was just not ok with getting another roll for just a few more square feet. so it hit me that i should put the wainscot in the dining room!! brilliant idea, right?!?! i was pretty excited!! so anyways, we are finally getting around to it...heres to hoping it will be finished this weekend! wallpaper and all!! i know my baby is due today, but i'm still having no regular contractions or anything. so i'm hoping this will maybe get him to want to come out!! (fingers crossed) heres to nesting!!
instructions for a faux wainscot
what you will need:
wood glue
nails
hammer or nail gun
putty
sand paper
&
wood

step 1.
we measured out the walls to see how much wood we would need. we figured that we wanted it to be about 5 ft high, so we bought 6 (10 ft) at $7 & had them cut in half (they cut them for your for free) now you need a top piece so measure out how long of a piece you will need & just have home depot or lowes cut it to your size.
step 2.
make sure you have everything measured perfectly! nick is a perfectionist so i had him do it! the only mistake we made was on the top pieces we forgot to measure a little less (so the board wouldn't overlap...if that makes sense?!)

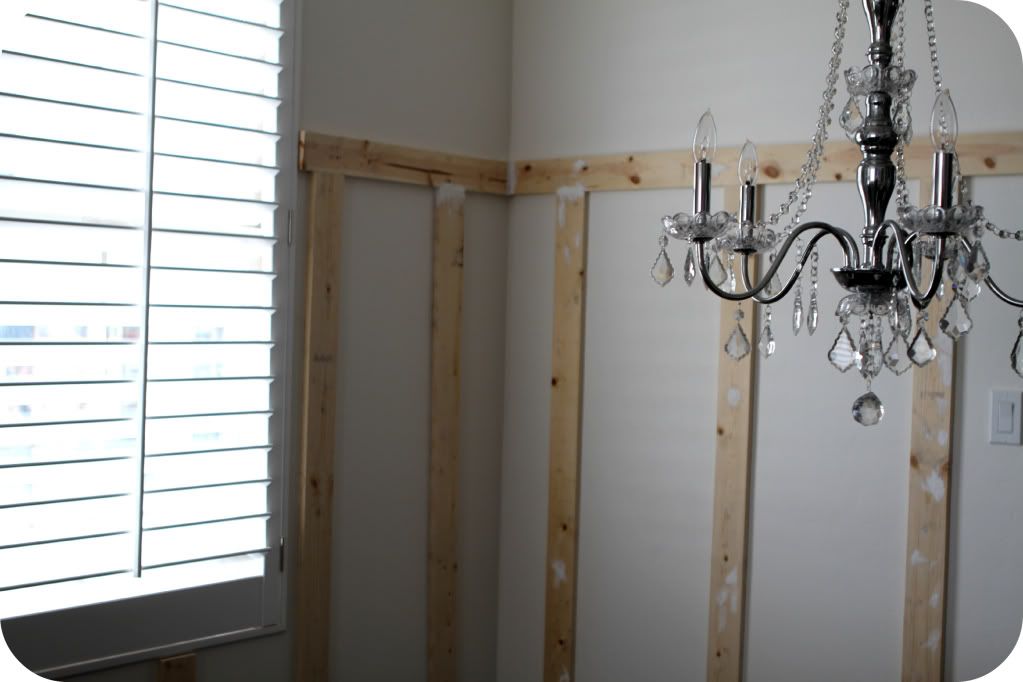
step 3.
start nailing everything in place!! :) this was a job for two for sure!! it would have been a lot harder for nick if i wasn't there to make sure everything was centered and to hold the boards for him! make sure and put the wood glue on the board before you nail it in. its just a little added security that those boards aren't going anywhere!

step 4.
fill in all of the nail holes with putty, let dry for an hour or more. then, sand all of them down.

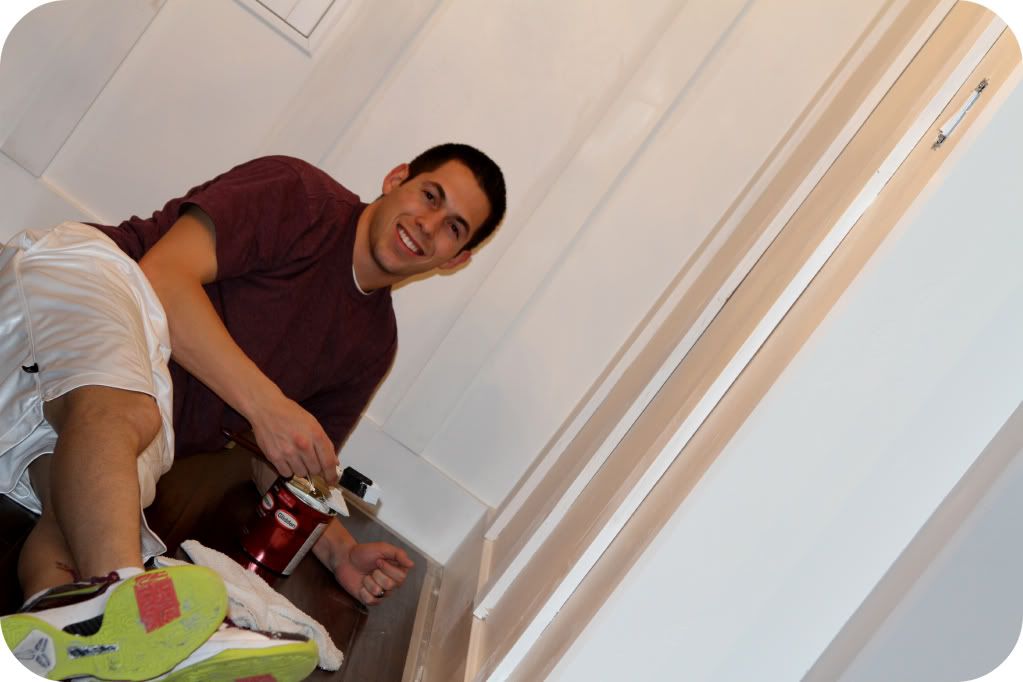
step 5.
primer all of the wood


step 6.
paint with the color of your choice (we chose white, obviously!) :)

& WALAAAA! you are all done!! easy, right?!?
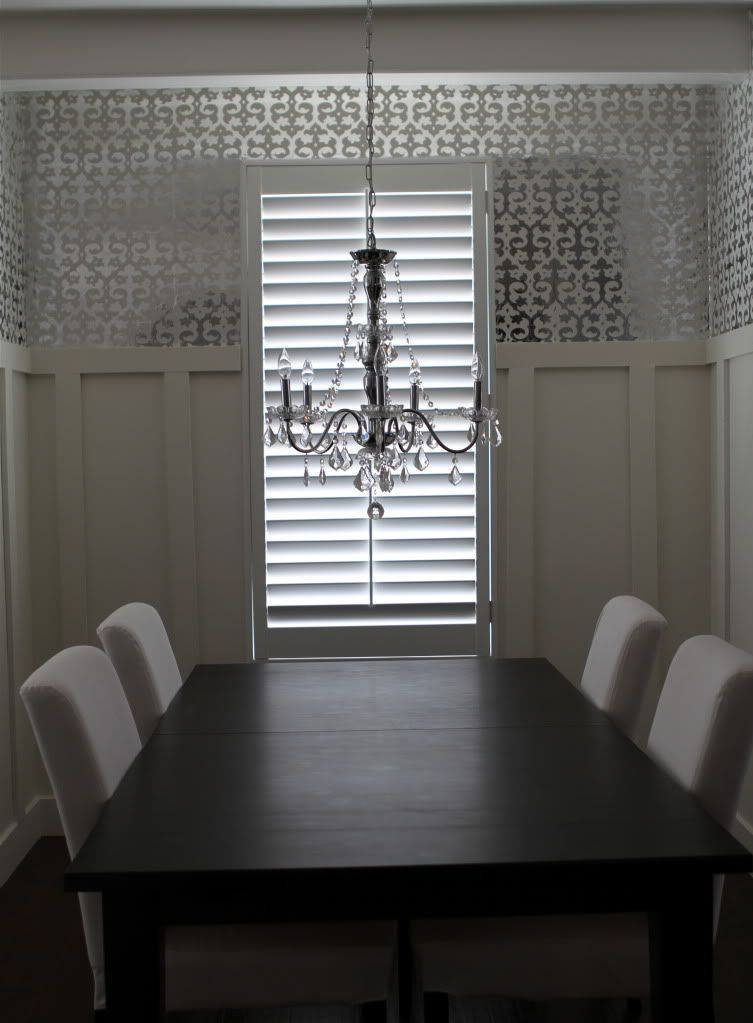
and we FINALLY got the wallpaper finished last night!! so this is what is looks like! nick was so sweet to get it done so fast! i was stressing about it not being done before the baby comes, not that it even mattered! haha. its totally that nesting thing!! ;)

and we FINALLY got the wallpaper finished last night!! so this is what is looks like! nick was so sweet to get it done so fast! i was stressing about it not being done before the baby comes, not that it even mattered! haha. its totally that nesting thing!! ;)
6 comments:
classy and fabulous! ! you guys did a great just and the idea is so good!
i love it! i've been wanting to do that same thing in daner's room. this is making me want to even more. i hope little kruzy decides to come soon!
Fabulous job! I love it so much. xoxo
Wow that looks amazing!!
what!!! that looks so good whodathunk nick was so handy!! looks amazing i cant wait to see it in person!! we will be over to visit u and the baby!!! yay
wow! Gorgeous i love it! you are way ambitious for being about to pop! Go you guys!
Post a Comment